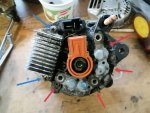
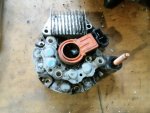
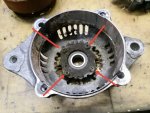
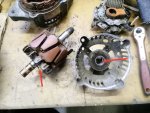
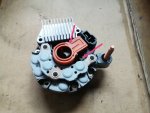
Typically that is the way to get a tacho signal from a Diesel engine. But I thought the v-belt has slippage and wear, so it may not be precise. Well, to be honest, it is precise enough, did I mention "over the top" already?On mine for tacho I opened the alternator and traced the AC signal with my little pocket O/Scope. Once I had the proper square wave I soldered everything up. I'd LOVE to have an actual instrument panel like that though
Modifying the instrument panel is actually not that difficult. I scanned in the original front panel and made a design placing the new instruments, which are 12V instruments for cars bought on Aliexpress, I only used the inside.
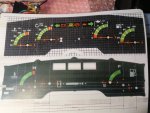
Then I got the design printed professionally as an overlay, made a new front panel using the old as a template and glued the overlay on. The needles are from Aliexpress for "scooters" and they are very close to the Kubota originals.
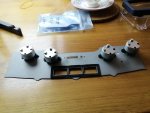
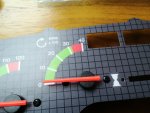
I have PCBs at the back (for some extra functions) but you can run wires as easily.
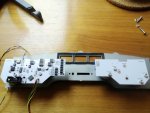
I did not modify any of the plastics enclosure, so everything can be brought back to original. The extra cables required can go out through the hole under the hour counter.
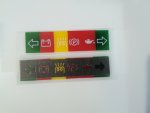
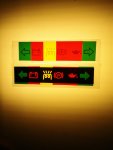
I have not decided about the lamps (that I doubled up) if I leave the Kubota G1900 style with white print and coloured background or the symbol lighting up coloured, I think the latter is almost better when lighting.
Last edited:


