I'm borrowing a friend's old tiller. it came with the PTO shaft already inserted. The shaft is too short so I need to put a longer shaft on (I have an issue with that as well, but I'll put that in a separate thread).
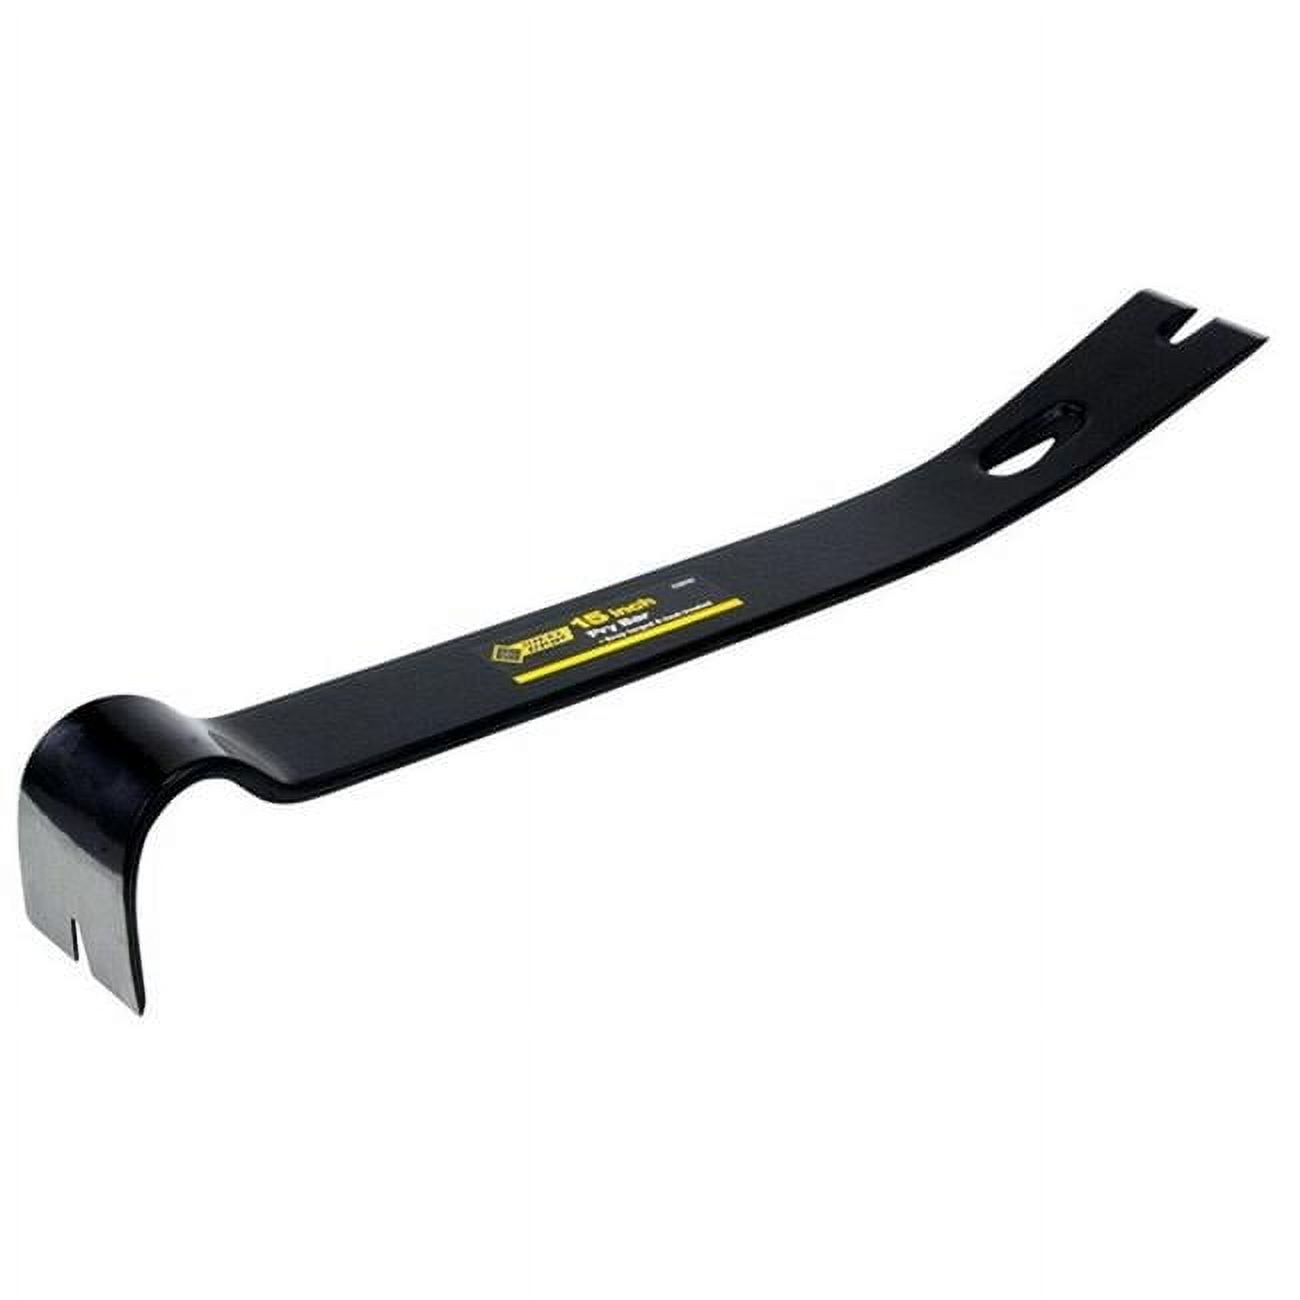
I have tried Blaster PB - several times - really dowsed the connection point. I've been able to get a 6' pry bar onto the yoke to get about a 10 to 1 mechanical advantage. No luck. I heard an idea of using a ratchet strap. I haven't tried that yet because I don't want to damage the gearbox. I heard maybe a propane torch? But I also heard that a torch could ignite leftover Blaster residue?
Any other ideas?