L245 oil pressure

campbell8300

New member

Equipment
L245
Mar 17, 2011
29
1
0
Canyon, TX
I just obtained a classic 1972 L245. It is awesome.
However, I haven't used it because the oil pressure light stays on.

1. I checked the pressure switch w/compressed air; it works.
2. I installed a pressure gauge in the switch port; measures 15 psi regardless of engine speed. WSM shows oil pressure should reach ~50 psi @ 2800 rpm. Explains why the light stays on.
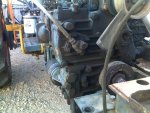
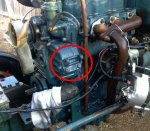
3. Front of engine was heavily covered in oily sludge, especially around the lower radiator hose. Pressure washed. Day later (w/o starting engine), I noticed oil weeping out from under alternator mount. Upon further inspection, the pocket under the mount was completely filled with oil. Is this normal? Some water was in there, perhaps from the pressure washer.
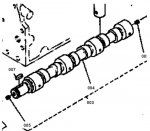
4. I found TSB#79-07 which mentions a cam plug which can or does come loose causing low oil pressure. A new steel one must be welded in. I've looked over the parts list but can't find. Is this welded into the block or on the cam? Any help is greatly appreciated.
 

Attachments

fj40dave

Well-known member
Lifetime Member

Equipment
B2650, LA534, BH77, TPD35, RCF2060, BB1566, RGA1258
Sep 24, 2009
421
256
63
Yelm, WA
Not sure on the OP @ 15psi.....but i it isn't knocking, I wouldn't be overly concerned myself. An oil and filter change is something I would do.

The leak at the alternator mount is nothing to worry about - just get another gasket, and presto-whammo....fixed. Might dab a little sealant on the bolt that goes through too.
 

ipz2222

Active member

Equipment
L235, bx2670
May 30, 2009
1,927
32
38
chickamauga ga usa
Oh yea, just went thru that. 90 percent chance it's the cam plug. The cam has a hole thru the center of it that oil travels to the top of the eng. The plug is in the front of the eng and pops out. Most of the oil is dumped into the front eng cover. Search for "low oil pressure L245 " to find the full post.
It's not any fun but is necessary to save the eng.
Once you get to that point, It';s only a few more bolts and linkage to remove the eng and put a new clutch in.
There is a bullitin from Kubota on it.
 

campbell8300

New member

Equipment
L245
Mar 17, 2011
29
1
0
Canyon, TX
Gearcase....you're mine

Thanks for all the input. That answers it. You guys are awesome.
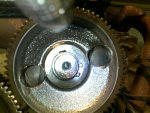
If I read correctly, the cam plugs are those black blips (item 5 in image) on either end of the camshaft. Wee little things.. I thought they were some sort of plug in the block or something.

1. Does the front of the tractor have to be removed to pull the gearcase off?
2. I started making a list of all the gaskets and o-rings but I think I'll wait until this is all out on the table. Any thoughts on using RTV for the gearcase gasket?
3. I'm not a gearhead and I haven't handled a camshaft before. Any comments on handling one, especially when installing the plugs?
TIA
 

Attachments

ipz2222

Active member

Equipment
L235, bx2670
May 30, 2009
1,927
32
38
chickamauga ga usa
I think the one in the front is the main problem. You don't have to pull the cam out. Everything on the front has to come off.
Do you have the wsm. work shop manual.??? There are some springs that need to be disconnected on the inside of the front cover that goes to the governor before you remove the front cover. They will get stretched if you don't remove them first.
If this is not 4wd and does not have an fel on it, it's about 80 percent easier.
 

campbell8300

New member

Equipment
L245
Mar 17, 2011
29
1
0
Canyon, TX
And so I begin

Twilight #1
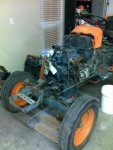
As the family drifts off to sleep and the crickets emerge for their serenade, wrench in hand, I embark on the journey...
Ok, my quest is to exact the repairs of TSB # 79-07. The link from Vic was very informative. I plan to follow it closely.
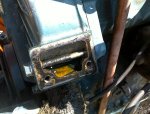
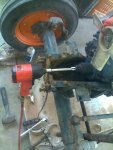
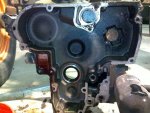
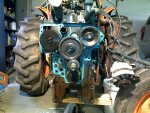
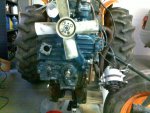
I worked about an hour last night and was able to make serious progress towards accessing the gearcase. A clean engine, thanks to my power washer, makes this a pleasant project.
 

Attachments

fj40dave

Well-known member
Lifetime Member

Equipment
B2650, LA534, BH77, TPD35, RCF2060, BB1566, RGA1258
Sep 24, 2009
421
256
63
Yelm, WA
Woo Hoo....let the fun begin!

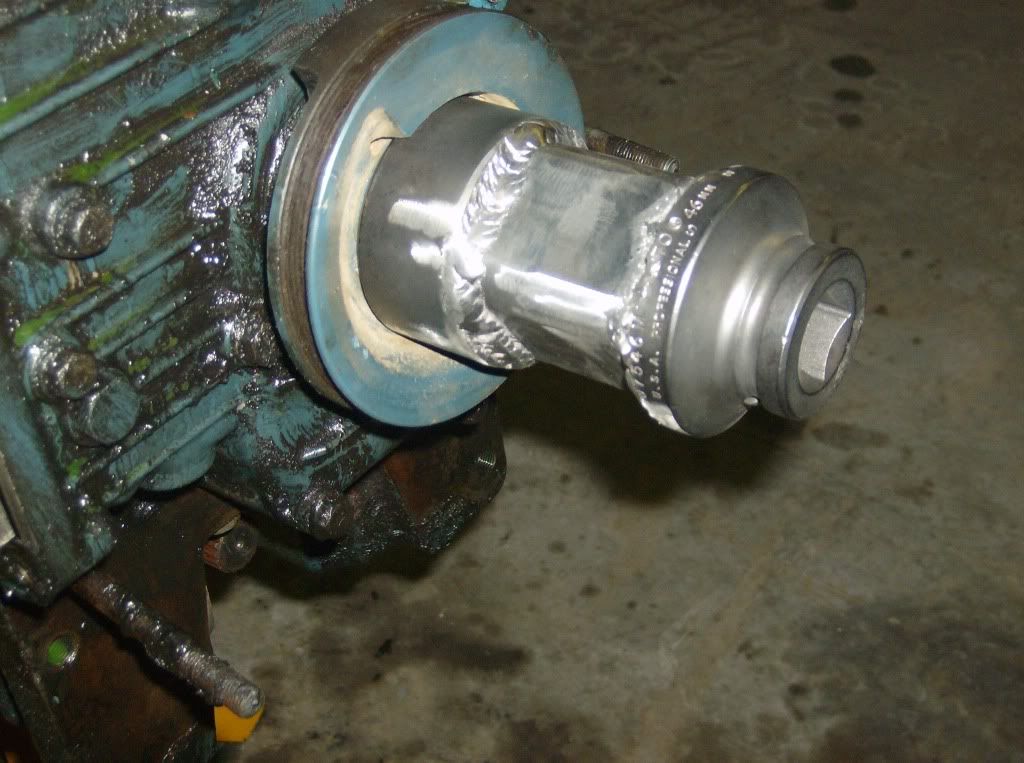
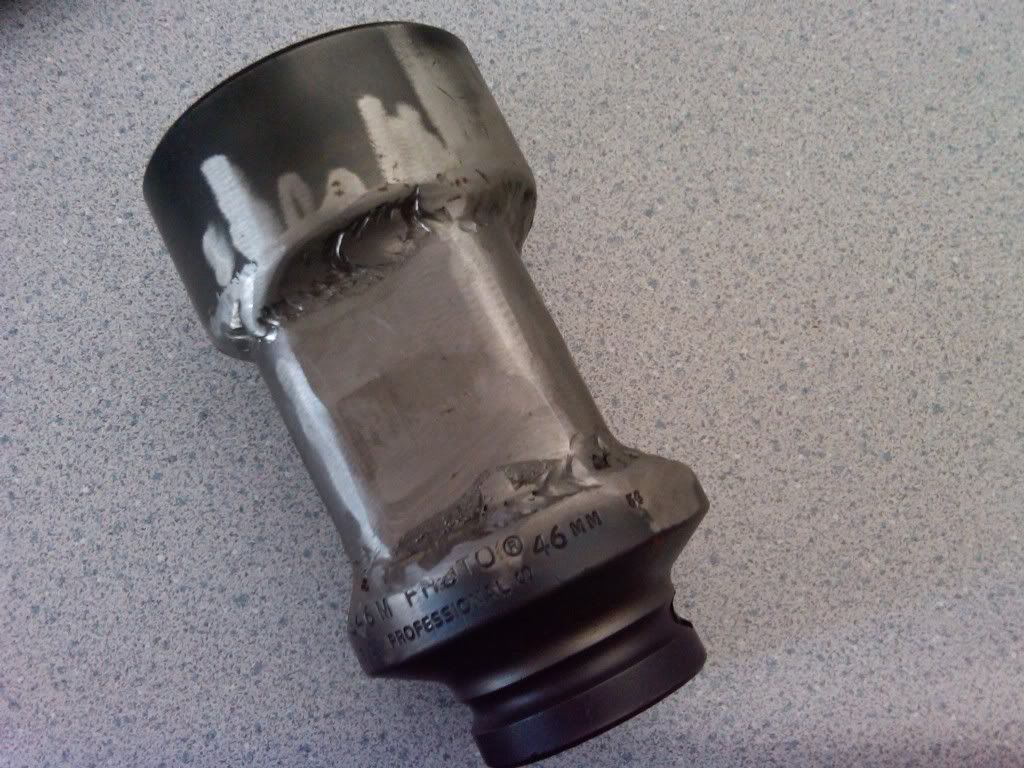
I have a home made deep well 46mm socket for that crank nut if you're interested in borrowing it?


campbell8300

New member

Equipment
L245
Mar 17, 2011
29
1
0
Canyon, TX
Hey fj40dave. Thanks for the offer. That's a fine looking specimen. Did you cut apart a Proto?
The fine folks at my local Kubota dealer have offered to loan me the tool. He described it and it looks just like yours. I can only assume you use an impact wrench on this. Right? Any issue with the crank turning?
 
  • Like
Reactions: 1 user

fj40dave

Well-known member
Lifetime Member

Equipment
B2650, LA534, BH77, TPD35, RCF2060, BB1566, RGA1258
Sep 24, 2009
421
256
63
Yelm, WA
Yep.....chopped a Proto and welded in a 2" section of square tubing for an extenion.

The impact wrench (Like the tire store's use) whip's that nut off there no problem. The crank might have turned a little, but nothing too worrysome with the tool.
If there is a lot more force required, you can access the flywheel and insert a flat surface tool (like a pry bar) and keep everything from spinning too much.
 

campbell8300

New member

Equipment
L245
Mar 17, 2011
29
1
0
Canyon, TX
Onward

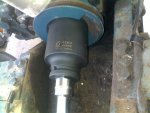
Yada yada yada, the 46mm socket from the dealership didn't work out. So I googled "46 mm deep socket" and found a heck of a deal from CSN Tools. $23 for the socket and about $7 for the 3/4" x 1/2" adapter. With shipping was $38. Not bad. Works great. You guys weren't kidding about that nut being tight. Geez, I hammered on that one for a while with my impact, but alas, it came loose. Now, onto the gearcase bolts...
 

Attachments

fj40dave

Well-known member
Lifetime Member

Equipment
B2650, LA534, BH77, TPD35, RCF2060, BB1566, RGA1258
Sep 24, 2009
421
256
63
Yelm, WA
That's cheating!

WOW....now, that's talent!
 

campbell8300

New member

Equipment
L245
Mar 17, 2011
29
1
0
Canyon, TX
Eureka! I found it...

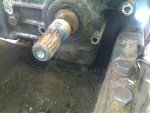
The anticipation was killing me..what would I find behind that gearcase? Clock ticking, sweat on my brow, I deftly waved my tools around as all the other obligations of a Sunday loomed closer. Tap here, pry there, and with one final groan, the case was loose.....the garage grew strangely quiet. High intensity LED in hand I surveyed the new territory..... until I spotted it, the cam shaft. I crept closer, ..closer,...
EUREKA! There it was,.....the shiny inner bore of the camshaft... minus the cam plug!!

Now the repair begins...(real work).
 

Attachments

Last edited:

campbell8300

New member

Equipment
L245
Mar 17, 2011
29
1
0
Canyon, TX
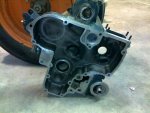
Gasket scraping in progress....
Dropped the new cam plug in the deep freeze (0°F) last night. I'll let it sit in there for a few days and get good and cold soaked. Plan to run some fine emery paper on the bore next.
 

campbell8300

New member

Equipment
L245
Mar 17, 2011
29
1
0
Canyon, TX
Just made the turn

Alas, be done with you vile gasket...
I've discovered that I hate scraping gaskets. Surely there has to be some dissolving gel I could've brushed on, then came out the next day and wiped the surface clean of gasket....right?
I also discovered that the aluminum gearcase and my wire brush wheel are not friends. That'll take off layers of aluminum in a hurry. Had to resort to the hand scrape, and then at that, with a sharp scraper I had to use surgeon like dexterity not to gouge out a chunk of aluminum. And finally, I learned the value of re-sharpening the beloved gasket scraping tool. What a difference a few strokes with a file can make.

Installed the front cam plug. The plug is a really soft material. Emery on the front bore, pulled plug out of deep freeze, coated both surfaces with Loctite, drove it in with a brass pin. Went in relatively easy. Again, it sure seemed soft.

1. scraping = DONE
2. stressing about the number of parts still waiting to be assembled = DONE
3. new crank seal installed = DONE
4. 3 new o-rings in place = DONE
5. new gasket high-tacked in place = DONE
6. cam plug installed = DONE

Following the trusty map, all bolts installed, wet.
Finally, light at the end of the tunnel.

One final note, I happen to have a 36mm socket from a front transaxle CV boot repair I did about a decade ago. The diameter of the socket was identical to the crankshaft bore in the gearcase. Installed the seal perfect.

Next, front axle and harmonic balancer (pulley).
 

Attachments

Foxfire

New member

Equipment
L2201DT
Apr 16, 2011
6
0
1
Chittenden Vt USA
Re: Just made the turn

I'm thinking this thread is reading like one of those old horror movies.. where it's close to the end of the movie.. everyone's breathing again, the end is in sight.. and Bam, the monster re-opens a bloodshot eye...

Seems I got myself sucked into a L2201DT project. I know, I know, every inner bell and whistle alarm in my head was screaming at me.. "It's too good to be true"... 22" truck tires on a Kubota? from an unemployed logger? but oh no.. I can "Fix anything".. well two weeks later.. Mama's pissed, the wiring harness was burn up (what there was left of it), the front axle is full of grease (although I hear some were actually set up that way for submersion), the decomp. shaft is frozen.. so was one of the brakes, one rear final shows signs of nasty leakage, and now I can't seem to get oil to run into the final from the gear box... I looks like it might have been rolled.. did get the electrical system back together and happening (but still need lights), and now the oil light stays on.. after many way to embarrassing "Shortcuts", two days later, I find the oil pressure can't get above 12psi at full tilt boogy... so I was thinking oil pump if I'm lucky.. But a Cam plug you say? still means the front cover has to come off... and a gasket kit.. should I de-carbon the combustion chambers while I'm at it? check the head over.. maybe magni-flux everything.. a fresh clutch you say? fresh oil pump too? probably should start with a comp. test... at what point do I just go for a long block? or do I cut and run like my little sister? db
$2,500. so far.
 

campbell8300

New member

Equipment
L245
Mar 17, 2011
29
1
0
Canyon, TX
Final stretch...

Foxfire: Ouch. Getting sucked into that project was aptly put. Seems like you've found yourself in a tight spot... -think happy thoughts.

With visions of a tachometer gauge liberated from the confines of an overbearing oil pressure light, ... my plight continues.

Attached the front axle, then thought about installing the crank pulley. It then dawned on me that if my cat-like reflexes failed and I was to drop one of the (2) springs into the gearcase, fearing the wrath of my obsessive-compulsive tendencies about abandoning it in place, I would have to pull the gearcase back off. That said, I think an improved assembly sequence would be:
1. mount gearcase with (4) bolts, dry
2. install (2) springs
3. remove dry gearcase bolts, and install ALL wet
4. install crank pulley
5. install axle

Nevertheless, spring installation was uneventful.
Next on the list:
- tach drive
- bumper
- radiator
- air cleaner
- alternator
Shooting for a Saturday morning startup.... gettin' ready to put some lipstick on this pig...
 

Foxfire

New member

Equipment
L2201DT
Apr 16, 2011
6
0
1
Chittenden Vt USA
Re: Final stretch...

Yup.. two days later (including 6 hrs futzing with a dinged up drive shaft tube, and four hrs talking myself into torching the innards out of a socket to remove the crank pulley), sure enough, no plug in the end of the cam. so now I'm being told I should pull the cam (and the head) and do both ends. Might be a good idea to get and eyeball on things. But I also hear that just the front cam plug is the problem, and I don't need to pull the head. So I'm thinking I should just plug the front of the cam and button things back up with RTV, and run it until I see what other surprised I find. I already know the front end is in trouble. At least I know how to get at it now. Good luck with your start up. db