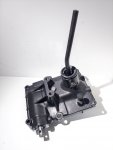
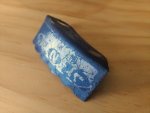
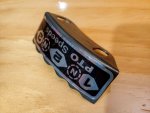
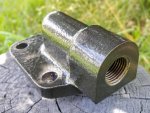
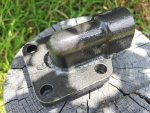
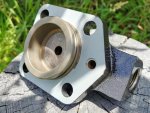
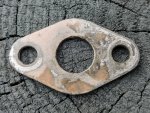
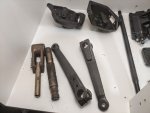
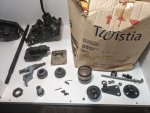
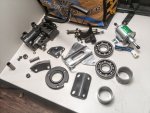
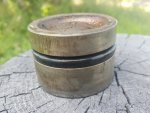
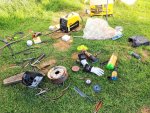
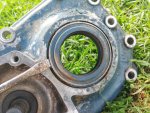
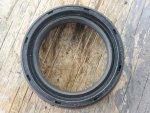
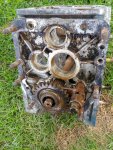
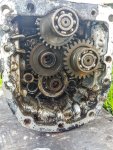
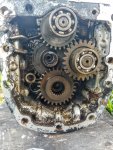
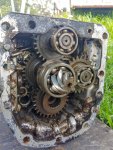
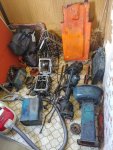
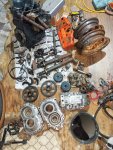
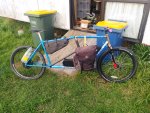
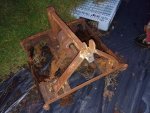
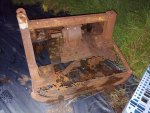
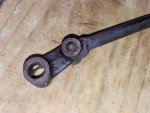
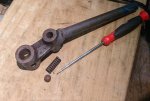
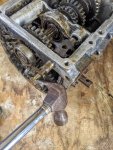
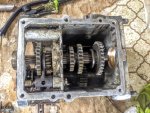
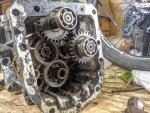
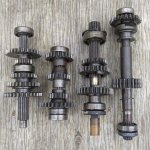
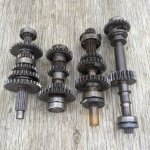
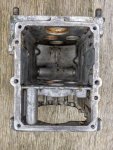
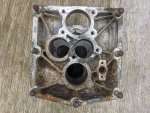
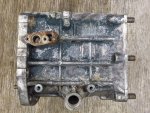
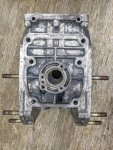
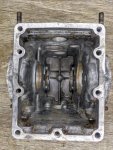
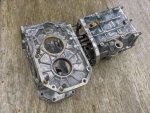
It's been a while. I've still been active, but mostly prepping and painting parts and doing a bit of disassembly here and there.
Nick, I think it will still be some time before I assemble it. The prepping of parts for paint is taking ages and I also need to do some welding and repairs on a few parts. I need to find the right seals and o-rings for some parts too. I'll definitely make a video of it once it's up and running.
The bearings all seem ok, maybe not perfect but some of the bigger once would probably cost a bit to replace.
I'd prefer to take everything apart if I can so I can clean it and stop it rusting further and make sure it's able to be taken apart in the future.
The paint stripper does have dichloromethane (referred to as Methylene chloride in the SDS). I also bought a brush on gel type paint stripper that includes it. I figure the toxicity should not be too much of an issue if using outside and only very irregularly. It doesn't seem like paint stripper alone is enough to clean the parts of paint, but it makes the second step of wire brushing easier.
I think anything that converts mechanical energy into electricity can be called a generator. On any motor or generator, the stator is always stationary and the rotor always rotates (get it?). The armature windings that produce the power could be either the rotor or stator. An alternator is a specific type of generator that produces AC, while a dynamo produces DC. And a magneto is an alternator with permanent magnets while some others will use a field winding instead. So this one is a generator, more specifically an alternator, and even more specifically a magneto. On this specific magneto, the armature is stationary so it is the stator, while the field magnets rotate so they are the rotor.
Yep, I think that's correct re using less of the charge capacity most of the time. I guess it was more reliable using a simpler solid state system rather than a regulator which were mostly mechanical in those days.
I could add a bigger alternator but I don't think it's really necessary. Using a regulator with the magneto should give a higher charge current if needed and I will be installing LED lighting so it won't use a lot of power.
Soda blasting looks good. I don't really have the money to either get them soda/sand blasted professionally or buy the equipment at this stage though. I've mostly completed preparing the hardest part by hand with wire brushes on an angle grinder, drill and dremel. It's the aluminium diff cover (with hydraulic cylinder). I definitely wouldn't do this manually again though, it is extremely tedious work.
I've got both tubes out of the front wheels and they do seem to hold a bit of air but slowly leak. They might be fixable. The rear wheels actually seem like they're in worse shape than I thought. The steel has rusted very thin in places, so I'm not sure it's actually a good idea to take the tyres off as I might damage the rim too much. I may just paint those with the tyres on for now. I would like to look at upgrading the rims/tyres in the future.
Thanks for the tip Clementine, I may try that sometime.
I've decided to strip most the parts back down to bare metal.
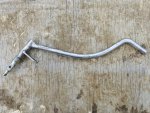
For aluminium parts, I've been using White Knight SLS Etch Primer, two coats of White Knight Squirts Metallic Charcoal Gloss, and one coat of Rust-Oleum Clear Gloss 2X Ultra Cover.
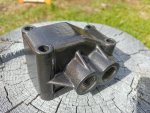
I tried the charcoal gloss acrylic over an epoxy enamel on one part, but it ruined the epoxy in the same way as paint stripper does. So for steel parts I've been using exactly the same as above, but with Rust-Oleum Black Flat 2X Ultra Cover Primer.
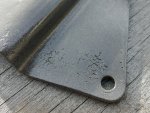
For steel parts that aren't usually visible or might be scratched easily I'm using CRC Zinc It, Black Zinc and then Clear Zinc.
I've been using the Rust-Oleum clear coat on the proprietary bolts/nuts and trying to buy new hardware for everything else.
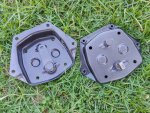
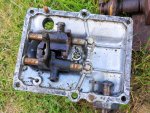
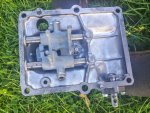
Here's the full procedure of prepping and painting the trans cover which also included disassembly and reassembly with new o-rings and split pins:
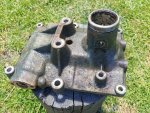
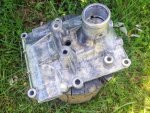
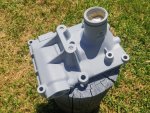
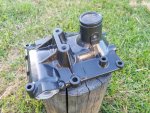
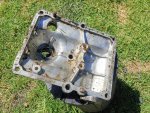
And for the underside:
Nick, I think it will still be some time before I assemble it. The prepping of parts for paint is taking ages and I also need to do some welding and repairs on a few parts. I need to find the right seals and o-rings for some parts too. I'll definitely make a video of it once it's up and running.
The bearings all seem ok, maybe not perfect but some of the bigger once would probably cost a bit to replace.
I'd prefer to take everything apart if I can so I can clean it and stop it rusting further and make sure it's able to be taken apart in the future.
The paint stripper does have dichloromethane (referred to as Methylene chloride in the SDS). I also bought a brush on gel type paint stripper that includes it. I figure the toxicity should not be too much of an issue if using outside and only very irregularly. It doesn't seem like paint stripper alone is enough to clean the parts of paint, but it makes the second step of wire brushing easier.
I think anything that converts mechanical energy into electricity can be called a generator. On any motor or generator, the stator is always stationary and the rotor always rotates (get it?). The armature windings that produce the power could be either the rotor or stator. An alternator is a specific type of generator that produces AC, while a dynamo produces DC. And a magneto is an alternator with permanent magnets while some others will use a field winding instead. So this one is a generator, more specifically an alternator, and even more specifically a magneto. On this specific magneto, the armature is stationary so it is the stator, while the field magnets rotate so they are the rotor.
Yep, I think that's correct re using less of the charge capacity most of the time. I guess it was more reliable using a simpler solid state system rather than a regulator which were mostly mechanical in those days.
I could add a bigger alternator but I don't think it's really necessary. Using a regulator with the magneto should give a higher charge current if needed and I will be installing LED lighting so it won't use a lot of power.
Soda blasting looks good. I don't really have the money to either get them soda/sand blasted professionally or buy the equipment at this stage though. I've mostly completed preparing the hardest part by hand with wire brushes on an angle grinder, drill and dremel. It's the aluminium diff cover (with hydraulic cylinder). I definitely wouldn't do this manually again though, it is extremely tedious work.
I've got both tubes out of the front wheels and they do seem to hold a bit of air but slowly leak. They might be fixable. The rear wheels actually seem like they're in worse shape than I thought. The steel has rusted very thin in places, so I'm not sure it's actually a good idea to take the tyres off as I might damage the rim too much. I may just paint those with the tyres on for now. I would like to look at upgrading the rims/tyres in the future.
Thanks for the tip Clementine, I may try that sometime.
I've decided to strip most the parts back down to bare metal.

For aluminium parts, I've been using White Knight SLS Etch Primer, two coats of White Knight Squirts Metallic Charcoal Gloss, and one coat of Rust-Oleum Clear Gloss 2X Ultra Cover.

I tried the charcoal gloss acrylic over an epoxy enamel on one part, but it ruined the epoxy in the same way as paint stripper does. So for steel parts I've been using exactly the same as above, but with Rust-Oleum Black Flat 2X Ultra Cover Primer.

For steel parts that aren't usually visible or might be scratched easily I'm using CRC Zinc It, Black Zinc and then Clear Zinc.
I've been using the Rust-Oleum clear coat on the proprietary bolts/nuts and trying to buy new hardware for everything else.
Here's the full procedure of prepping and painting the trans cover which also included disassembly and reassembly with new o-rings and split pins:


And for the underside:


Last edited:


