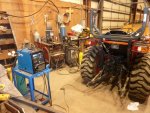
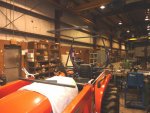
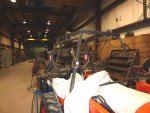
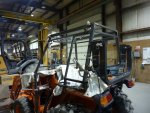
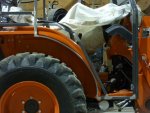
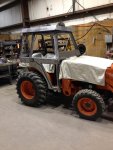
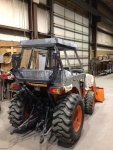
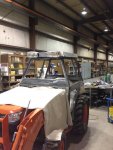
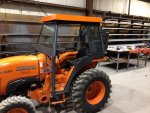
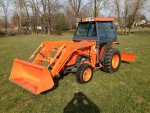
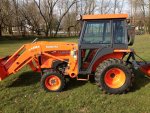
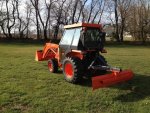
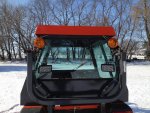
I thought I posted my cab build here, but couldn’t find it. Must have been on another board only. This was a project to keep warm and dry if/when we get snow. We built here in 1989 and used open tractors ever since. Finally had enough so last year the cab went from the wish list to the “To Do” list. I had a few weeks of vacation to use up and there was an empty area in our weld shop. I scoured the ‘net looking for other builds to avoid some of the pitfalls and get some ideas. It seemed that the basics were to have real glass, heat, a wiper and a shape that wasn’t a simple square.
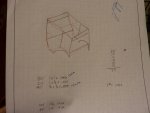
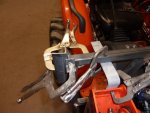
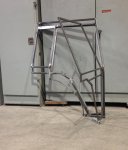
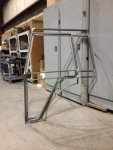
It took more time than I estimated – over 150 hours -but the cost was around $1,200 and that was close. I tried doing some preliminary CAD drawings, but due to the shapes that fabricated pieces had to mate with it was beyond my ability as an occasional user of the program. So the starting point was the pencil sketch in the one pic. That was enough to determine the materials to order and a general guide. I used my Millermatic 175 for most of it, and was fortunate in being able to have real weldors give me tips and some assistance along the way. I resisted the offer of using the welding machines we have in the shop because I wanted the experience on my machine.
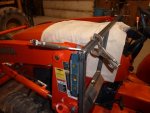
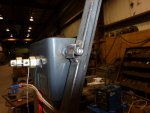
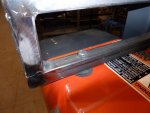
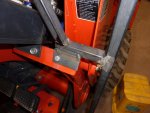
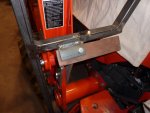
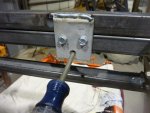
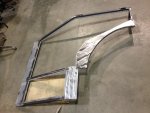
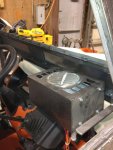
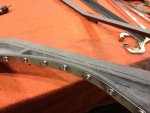
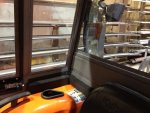
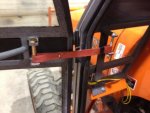
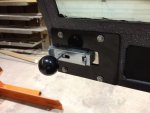
The cab is made in pieces for removal in warm weather and attaches to the tractor at four points plus a couple bolts through the fenders where the flashers were removed. It is bolted to the ROPS two places in the rear and in the front I made a mirror image piece to match the FEL bracket. One bolt in each of these two brackets carries the front. The cab pieces are (A) back and roof, (B) front, (C &D) right and left sides and (E & F) right and left doors. Pieces A through D are framed with 1 x 1 square tube and the doors are framed with ¾ x ¾ tube. Two pieces of ½ x ¾ tube were used for ease of bending to the shape of the wheel openings. The painted pieces are sheet metal and the glass is safety glass made from luan templates I sent to the glass guy. Door gaskets are real door seals from McMaster Carr and small gray gasket material where sections meet is from Lowes. The heater is 20,000 BTU and is plumbed into the tractor cooling system.
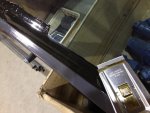
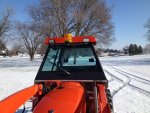
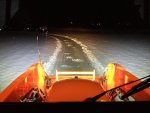
To seal the odd shapes below the front window, plastic strips were used. This is the material used for drive-through doors on refrigerated rooms. The same material is used to form sort of “ingrown” mud flaps to seal at the lower edges of the fenders. Since these pics were taken the lights have been replaced with LED’s and a strobe added between the front lights above the windshield. For rear flashers the factory “lollipop” fender light were moved up and put on an alternating flasher.
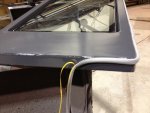
The glass is installed with automotive windshield adhesive. To do this 3/4” wide strips of sheet metal were welded onto the area receiving the glass. The strips are welded flush with the inside plane of the square tube. A generous bead of adhesive was laid on the strip and when that set up I caulked the part between the glass and the outside of the frame with black silicone. Paint was from the local Kubota dealer.
Attachments
-
51.3 KB Views: 1,563
-
96.4 KB Views: 1,631
-
70.5 KB Views: 1,721
-
59.8 KB Views: 1,656
-
64.8 KB Views: 1,730


