Wildfire
Active member
Equipment
Kubota L5740 HSTC3 and a Kubota ZG222Z, 2013 BX25D,Custom Toyota fork lift.
Cause:
Well I had the soot issue with the Grand L 4240 and now the Grand L 5740. The problem is or should I say was the design of the exhaust pipe on these tractors. The problem wouldn’t exist If we didn’t have an FEL on the machine but some of us do and like mine I was getting soot all over the left side of the FEL which I mortally hatted. all i did on the 4240 was add to the pipe and have it pointed down but this time I wanted to do something a little different. I wanted a STACK.
Correction:
To add a stack to these machines may look easy BUT there are many things you need to consider.
- Placement of the stack
- How high should it be?
- Will the hood be able to open after the retrofit of the stack?
- Will the lower panel be able to be removed for servicing the machine after the retrofit?
- Will it impede visibility?
- How can It be done with minimal modifications to the tractor itself?
- How can it be done so it will not interfere with the turning of the wheel and not hit the front fender?
- How can the adapter be attached so that IF the FEL needs to be removed it can as it was originally?
- How do I add the stack and what happens IF water gets into the stack? How do I prevent this from happening?
Cure:
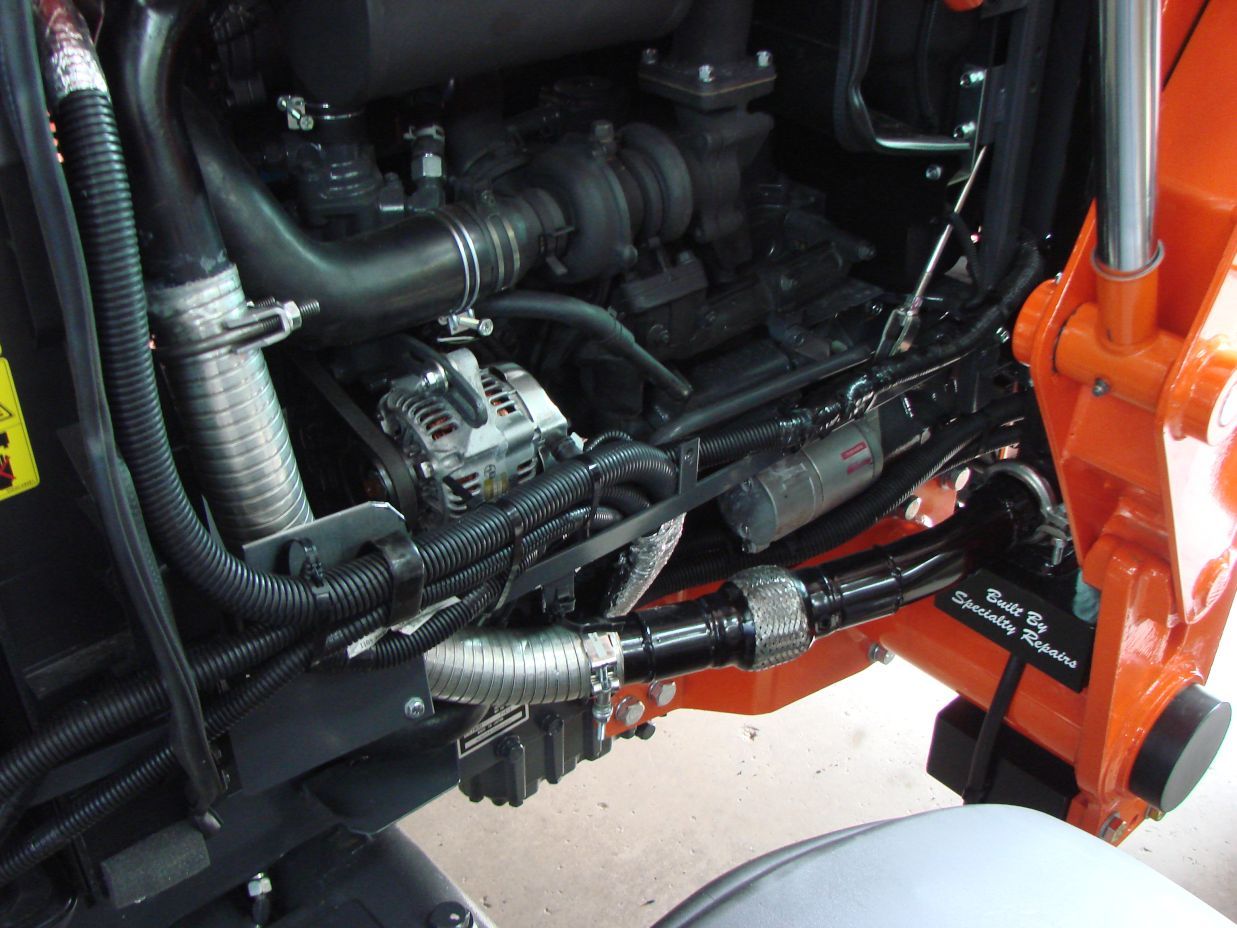
Well It took two days designing and fabricating along the way while I was suffering with a head cold. I used all 1/4 plate, a few modified exhaust flanges and a flexible joint. I also use a cool exhaust tube connector that I liked. A 3” stack was purchased. I thought it had touch of a curve so I did a little tweaking on it.
The design is self explanatory in my opinion. It’s simple yet effective and it sounds so sweet! I did run into a problem bending the pipe. I couldn’t get the sharp bends as close as I needed them under the hood using the 2”ID pipe so i went and put stainless flex pipe in it’s place. I think it’s worked out better anyways because it allows some small amount of movement in the system.
To get around the water in the pipe issue I drilled and tapped a pace for a drain hole and you can see it in photo’s EX8 &EX9. When the water gets in it will just run out in the hose I’ve added to the adapter box. I determined the height of the stack based on the cab light. If i went any higher than I did I would have blocked the light.
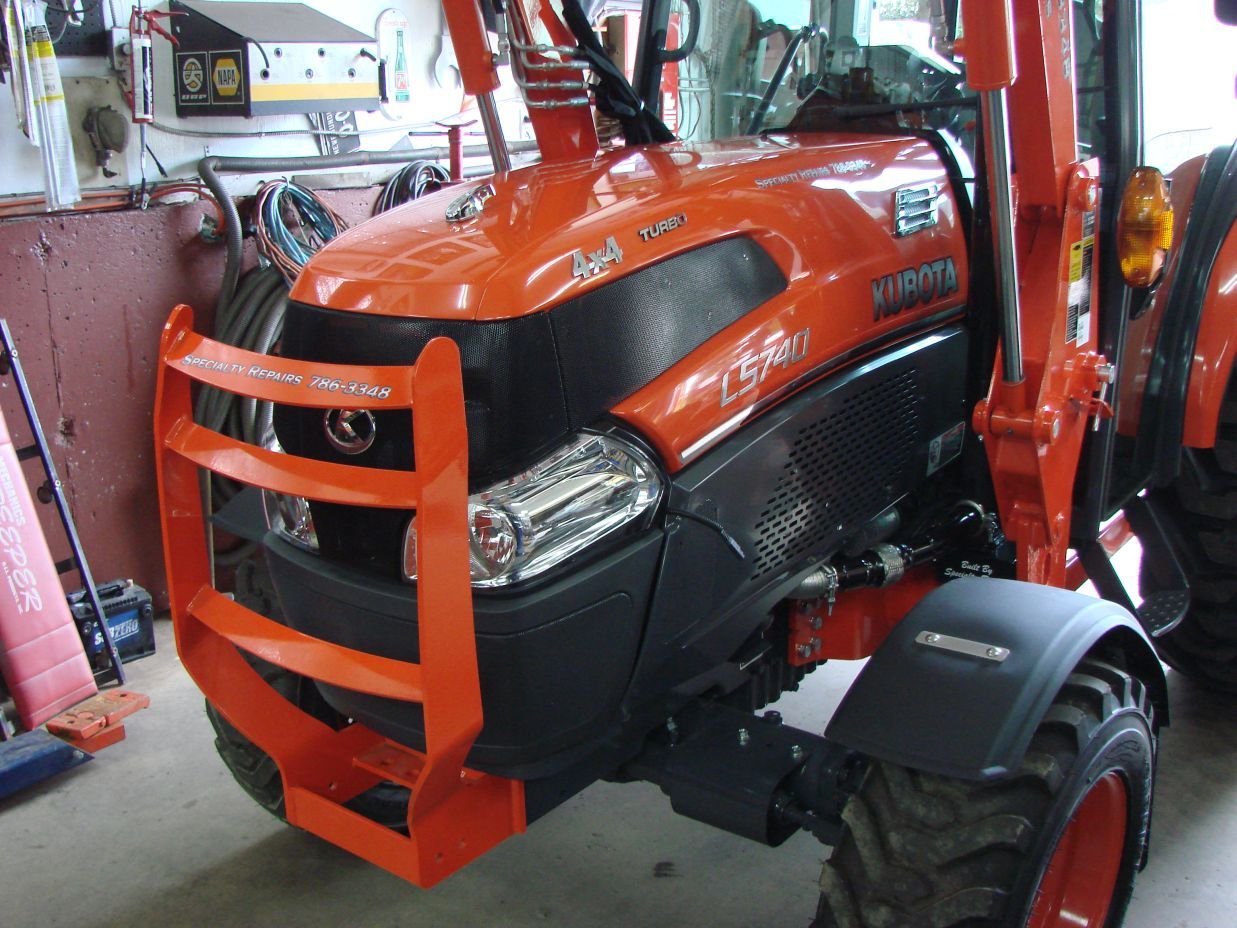
Installing it in the location I did allowed the FEL to go fully up and not block the stack and it’s not in any way attached to the cab. I used the existing rear FEL support bar bolts holes to accept the adapter. I did have to cut about 11” of the original exhaust pipe but I’ll use another one of those cool tube connectors if i need to re-install it at some point. The visibility in the cab is great and the hood can be opened like it could before and the lower service panel on the left side can be easily removed as in the past.
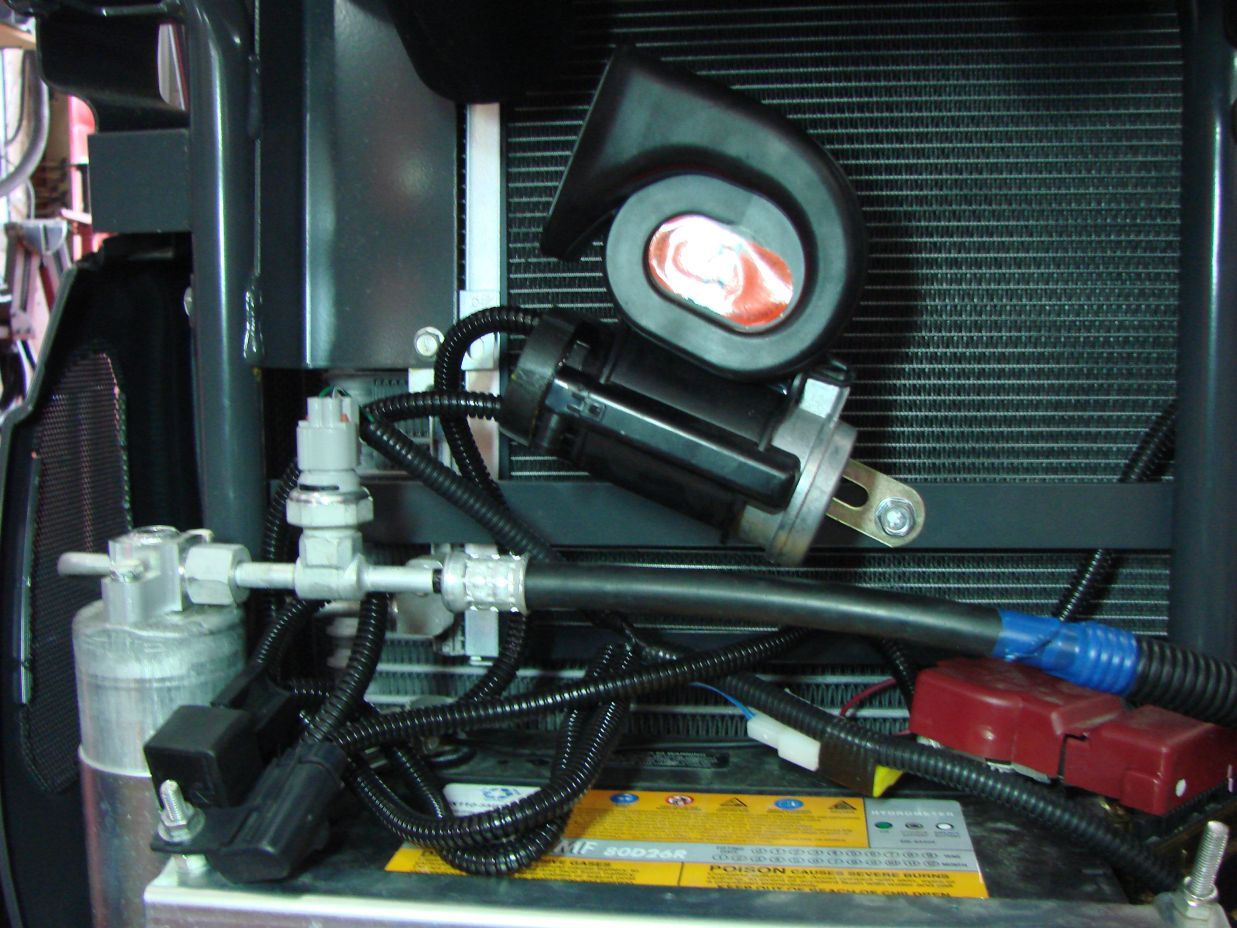
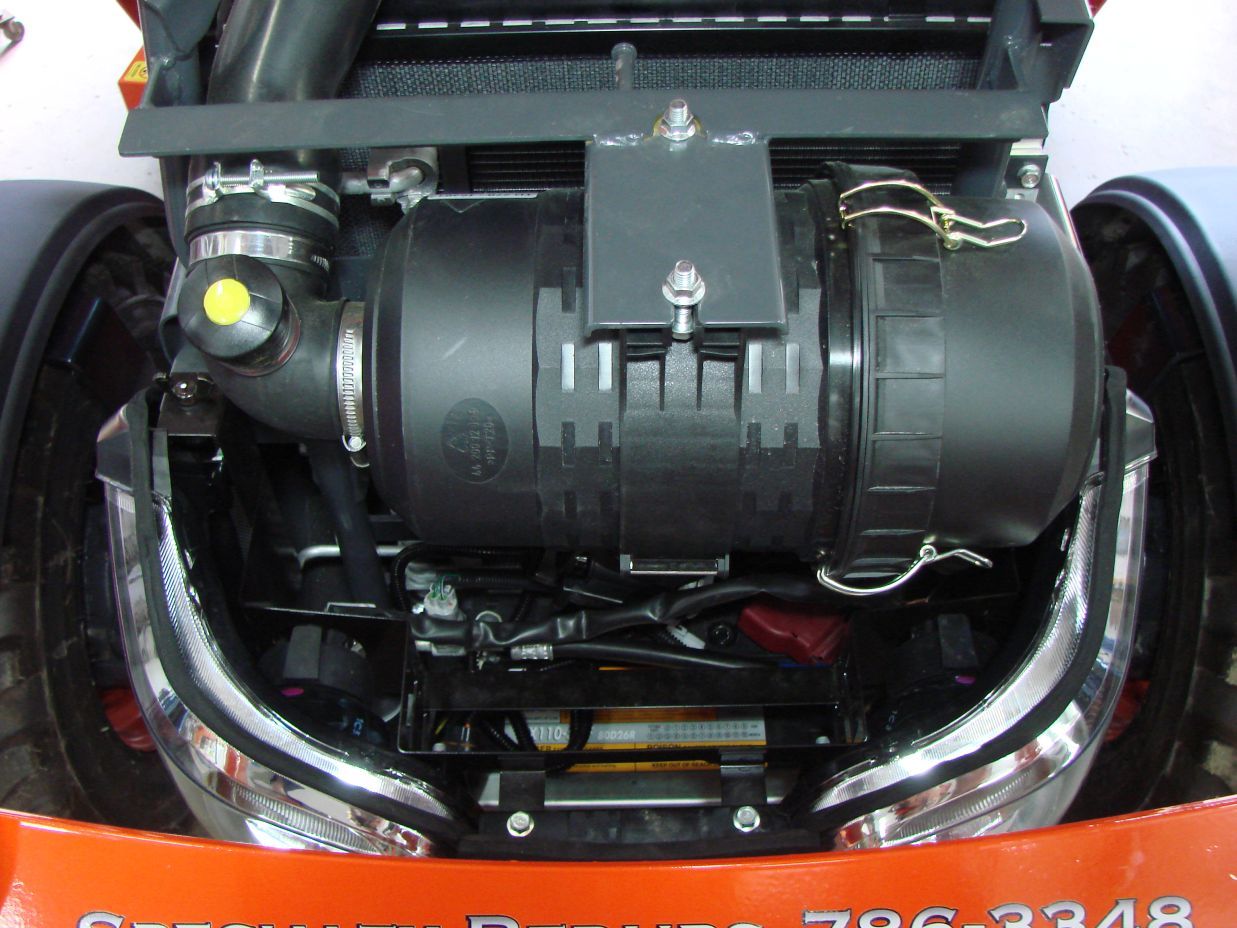
Here’s how it was done and looks completed.
Larger photo’s can e seen here:http://www.flickr.com/photos/15602393@N05/sets/72157627144601955/


No CNC used here. All hand done free hand and a Miller 875 plasma cutter.

This is the “roughed in” adapter.


Well I had the soot issue with the Grand L 4240 and now the Grand L 5740. The problem is or should I say was the design of the exhaust pipe on these tractors. The problem wouldn’t exist If we didn’t have an FEL on the machine but some of us do and like mine I was getting soot all over the left side of the FEL which I mortally hatted. all i did on the 4240 was add to the pipe and have it pointed down but this time I wanted to do something a little different. I wanted a STACK.
Correction:
To add a stack to these machines may look easy BUT there are many things you need to consider.
- Placement of the stack
- How high should it be?
- Will the hood be able to open after the retrofit of the stack?
- Will the lower panel be able to be removed for servicing the machine after the retrofit?
- Will it impede visibility?
- How can It be done with minimal modifications to the tractor itself?
- How can it be done so it will not interfere with the turning of the wheel and not hit the front fender?
- How can the adapter be attached so that IF the FEL needs to be removed it can as it was originally?
- How do I add the stack and what happens IF water gets into the stack? How do I prevent this from happening?
Cure:
Well It took two days designing and fabricating along the way while I was suffering with a head cold. I used all 1/4 plate, a few modified exhaust flanges and a flexible joint. I also use a cool exhaust tube connector that I liked. A 3” stack was purchased. I thought it had touch of a curve so I did a little tweaking on it.
The design is self explanatory in my opinion. It’s simple yet effective and it sounds so sweet! I did run into a problem bending the pipe. I couldn’t get the sharp bends as close as I needed them under the hood using the 2”ID pipe so i went and put stainless flex pipe in it’s place. I think it’s worked out better anyways because it allows some small amount of movement in the system.
To get around the water in the pipe issue I drilled and tapped a pace for a drain hole and you can see it in photo’s EX8 &EX9. When the water gets in it will just run out in the hose I’ve added to the adapter box. I determined the height of the stack based on the cab light. If i went any higher than I did I would have blocked the light.
Installing it in the location I did allowed the FEL to go fully up and not block the stack and it’s not in any way attached to the cab. I used the existing rear FEL support bar bolts holes to accept the adapter. I did have to cut about 11” of the original exhaust pipe but I’ll use another one of those cool tube connectors if i need to re-install it at some point. The visibility in the cab is great and the hood can be opened like it could before and the lower service panel on the left side can be easily removed as in the past.
Here’s how it was done and looks completed.
Larger photo’s can e seen here:http://www.flickr.com/photos/15602393@N05/sets/72157627144601955/


No CNC used here. All hand done free hand and a Miller 875 plasma cutter.

This is the “roughed in” adapter.


