steel brush guard mounted on factory grill guard Kubota L3540 4x4 w/ FEL and backhoe

eck1901

Member

Equipment
L3540
Jun 12, 2017
34
2
8
Birmingham, AL
Stage 1.
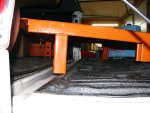
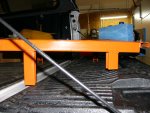
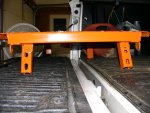
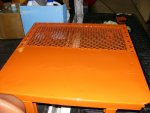
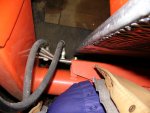
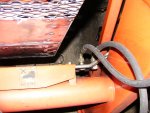
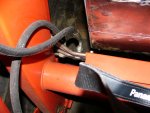
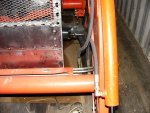
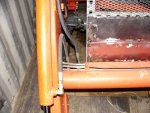
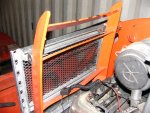
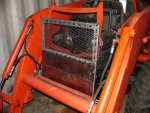
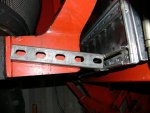
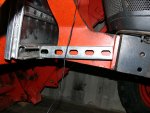
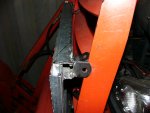
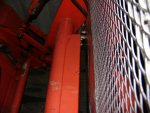
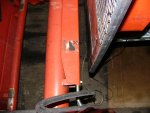
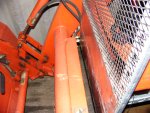
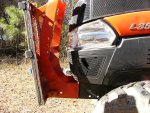
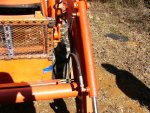
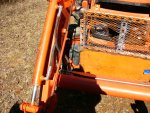
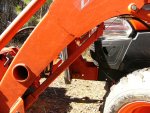
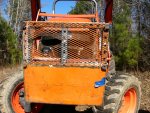
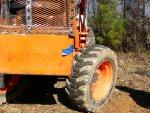
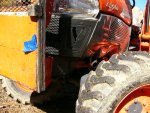
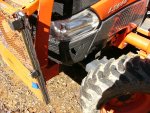
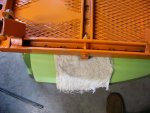
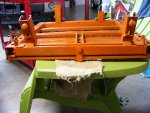
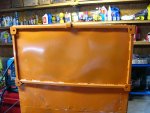
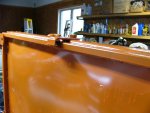
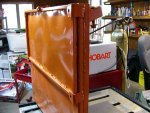
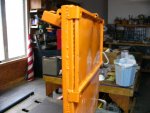
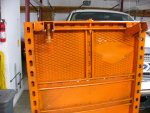
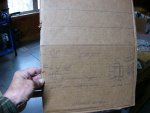
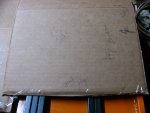
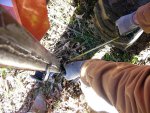
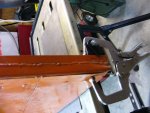
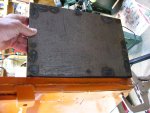
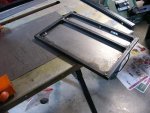
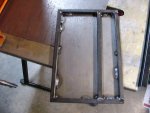
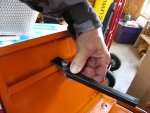
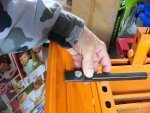
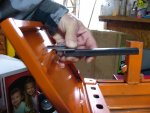
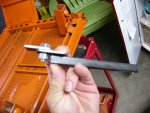
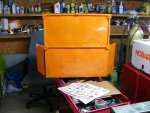
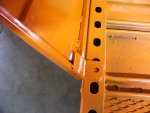
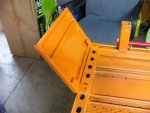
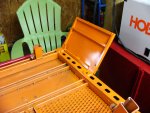
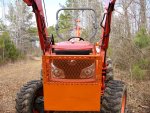
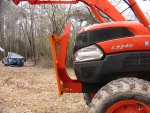
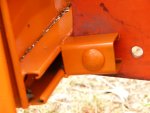
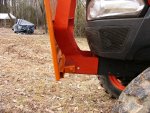
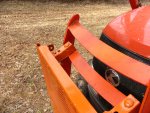
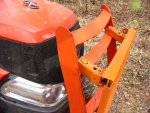
Related to my other post about fixing the plastic grill itself, I first built this steel guard to keep from poking brush (mostly privet) through the grill and damaging the radiator, battery, etc. I built it AFTER damaging the original factory cheap plastic grill. I use the FEL to rip large and small privets out of our woods.

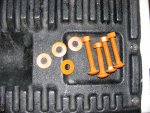
Photos attached and more to the story below.
 

Attachments

eck1901

Member

Equipment
L3540
Jun 12, 2017
34
2
8
Birmingham, AL
Still more photos of original build.

Size is 24x24". The top and bottom frame is 1 1/2" square unistrut, 14 ga. The side frames are 3/4x 1 1/2" unistrut. The sheet steel 20ga. 12x24 size from Lowes. The expanded metal is 18ga. 12x24 from Lowes.
 

Attachments

eck1901

Member

Equipment
L3540
Jun 12, 2017
34
2
8
Birmingham, AL
Stage 2.

It works nicely but in one case of getting nearly stuck pushing over privet, a big piece broke through the expanded metal part as well as breaking my NEW $200 factory grill.

After attempting to replace the expanded metal (too much work), I thought about putting a 2nd layer on top. I finally decided since I almost never need my headlights, I would put on a solid panel over the expanded metal part

As heavy duty as I thought it was, I had to beat the side frames straight and I strengthened it by welding a 2nd layer of 3/4x1 1/2" unistrut on top. So now the sides are actually stronger than the top.

Then I built a new 12x24 section to slip in over the expanded metal part, so I could use the headlights with removal of one holddown bolt.
 

Attachments

eck1901

Member

Equipment
L3540
Jun 12, 2017
34
2
8
Birmingham, AL
More stage 2 photos.

This section is made from 1/2" 16ga. sq. tubing, some 14 or 12 ga. weld brackets w/ 3/8" predrilled holes and more 20ga. 12x24 sheetmetal. The square tubing came from Metal Supermarkets (local) and all weld brackets I've used came from bobcometal dot com.
 

Attachments

eck1901

Member

Equipment
L3540
Jun 12, 2017
34
2
8
Birmingham, AL
Stage 3.
When I decided to cover the headlight area with a sold panel, I decided to build wings on the side of the lower 12" of my grill guard. This is where I am currently and not finished though I have the complete plan and will finish in a few days.

I took some cardboard and taped it to the reinstalled grill guard and checked for clearances from the tires. I found it is IMPORTANT to run the front wheels up onto a steep slope turned all the way left and right since that is the most restrictive point. Of course, you have to always keep the FEL clearance in mind. Unfortunately, I was working alone on that day and did not have the camera with me to take w/ the cardboard in place. This was a great way to do it. I made it bigger than necessary and bent it and used tape to hold it in place.

The final wing size is 12" h x 8" w.

The sq. tube at the 5 1/2" mark is so I can run a sq. tube across from the left wing to the right wing as a stiffener. That's what the angled weld brackets are for. With the cardboard and tape, I was able to determine the widest point I could have (see my sketch). I am going to make these wings bolt on as the whole unit was beginning to get a little too heavy for me. See pic w/ the weld pliers holding a straight weld tab to the 90 deg. weld tab. I'll put the straight tab in the corners at top and bottom of the wings. After welding them and the 90 deg. tabs, I'll attach the wings and bend them outward until I get the 34" total outside (from the sketch). Then I can add the brace across the middle (rather than at the top as noted in my sketch).

I hope this is helpful to someone.
 

Attachments

eck1901

Member

Equipment
L3540
Jun 12, 2017
34
2
8
Birmingham, AL
Stage 4.

I decided to weld the wings in place. But, I know that I am likely to have to add a mid brace and photos show the plan for that. It has to be bolt in as I don't need to lift this heavy thing over the factory grill guard. This way, it slides in from the front.
 

Attachments