Runs With Scissors
Well-known member
Equipment
L2501 TLB , Grappel, Brush Hog, Box Blade, Ballast box, Forks, Tiller, PH digger
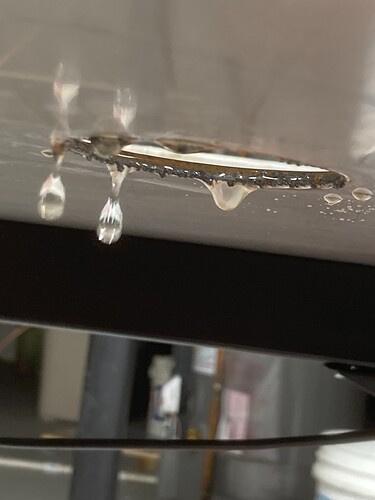
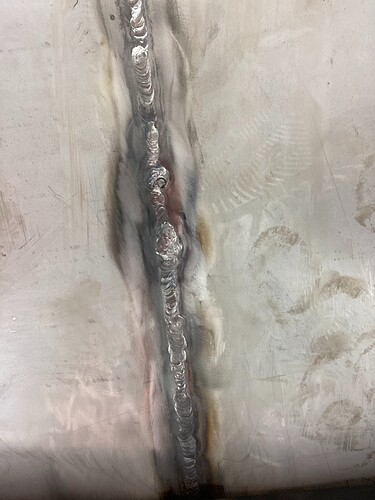
Well my table finally started leaking this weekend, so it is time do something about it.
Its kind of a "known problem" cause they ship the tables in 2 pieces (to save money most likely)
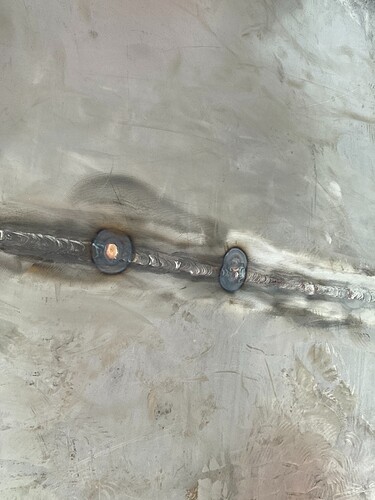
It wasn’t too bad, but I figure that it ain’t gonna get better, so I figure I may as well try to TIG her up.
So first I have to drain the table…but the factory plugs are frozen in place and I end up ripping the gaskets during removal.
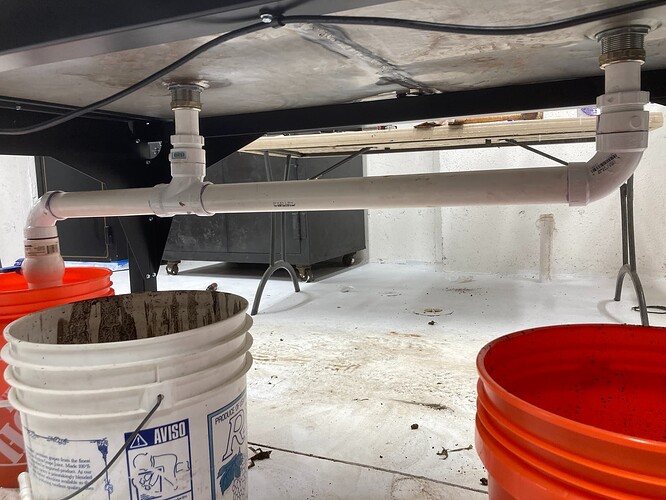
Well F’it I guess, I will just have to convert my table to a new drain system, just I like I planned to do 4 months ago…But ya’ll know how it is, projects start to stack up as priorities change…blah…blah…blah…
I decide to copy a guys idea from the Lanmuir site (giving credt to @nortonscustoms for the idea) but I am kinda short of the proper material, so I start scrounging through the scrap pile and I find a few possible candidates.
I first find this square piece of “mystery metal” and some A36 round stock that might work.
I am worried that the pressure from the squeezing action will bend/warp the square piece, but that is the biggest/thickest piece of scrap steel I have laying around, so I find this “roached out” circular scrap of aluminum as a candidate for a “backer”.
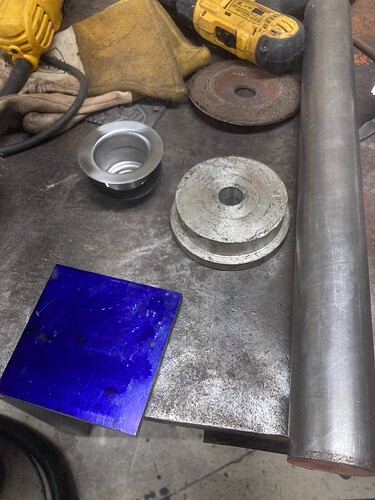
IMG_32991920×2560 381 KB
Off to the lathe we go.
I decide to cut off the corners on the band saw to get a “round’ish” shape and will try to make it round on the lathe after I get it to what I consider the proper depth.
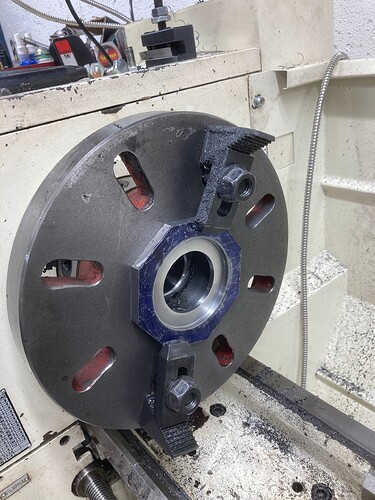
IMG_33031920×2560 531 KB
Now keep in mind, I am doing this off a “bar napkin” drawing and I have no idea if it will work.
Then I start “whittling away” at the A36 with my new “carbide inserts” that I am trying out.
They work pretty good so far.
(However one complaint is that I can't get the inserts to make actual "chips". Instead I get long strings that eventually get wrapped around the chuck and scare the sh!t out of me when they catch........But thats a different topic entirely....)

IMG_33011920×2560 414 KB
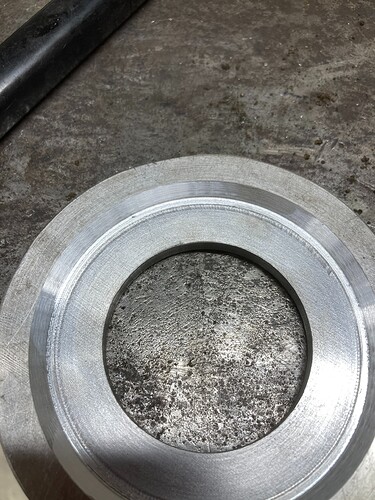
Now it’s time to chuck up the “backer piece” to clean it up and carve out a “recess” to make enough room for the die.
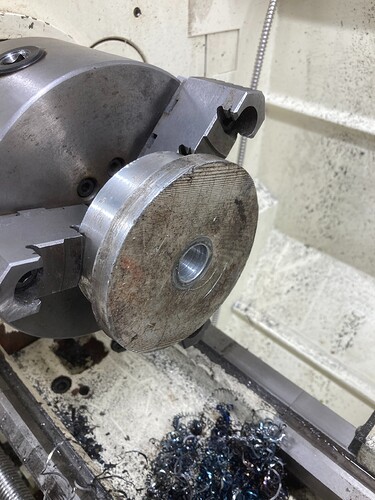
IMG_33041920×2560 382 KB
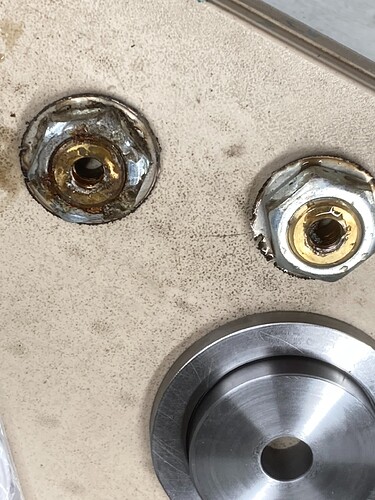
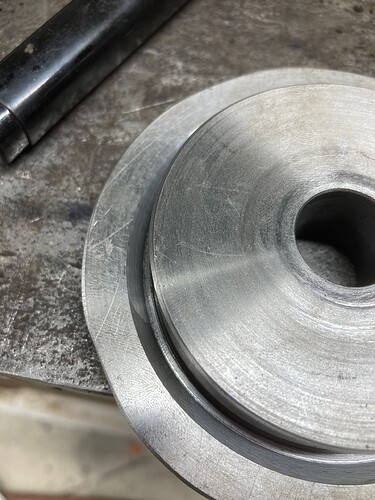
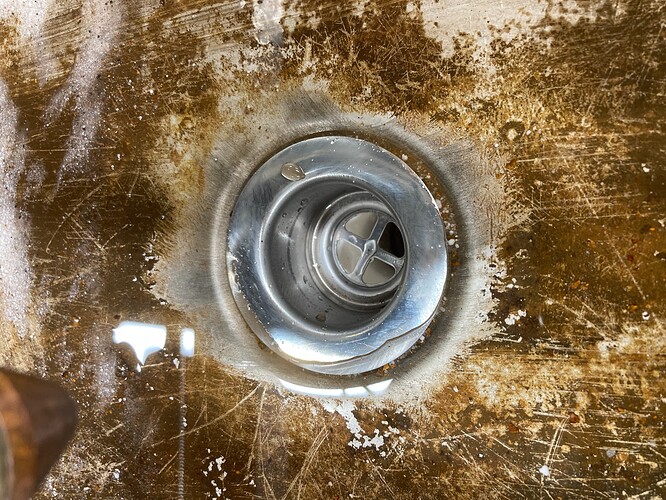
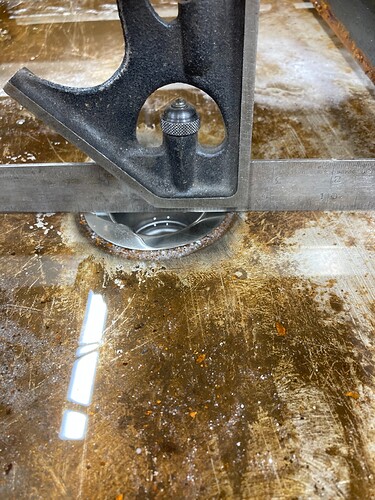
In the end, I end up with the “finished product”
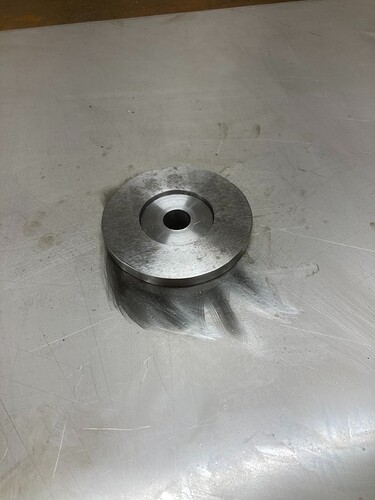
IMG_33341920×2560 226 KB
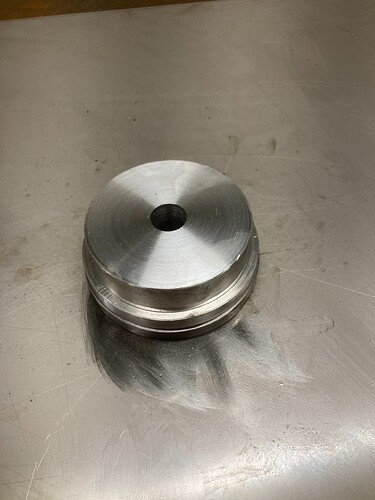
IMG_33351920×2560 281 KB
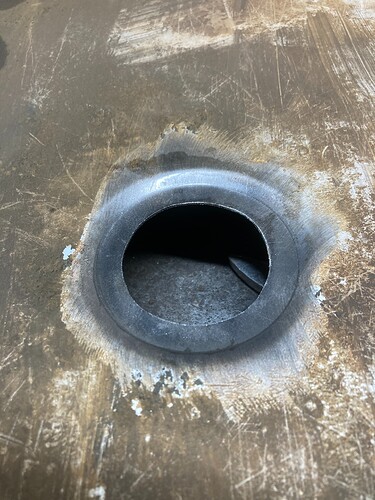
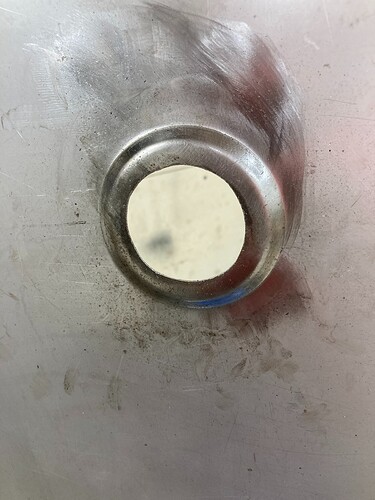
Now to cut the holes in the table.
I can’t find my “hole saw” set, so I think they must be up at the cabin. Hmmmmm…
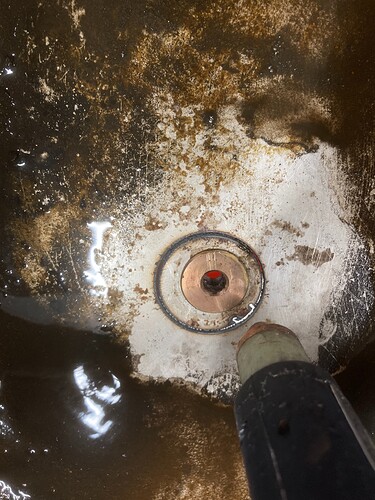
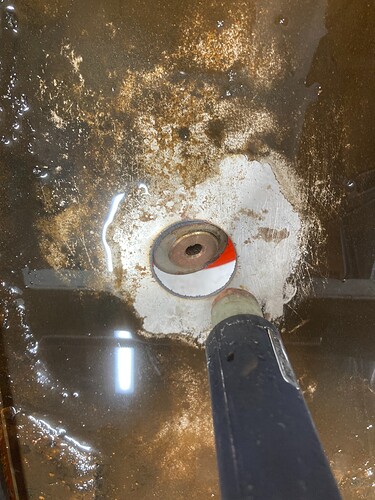
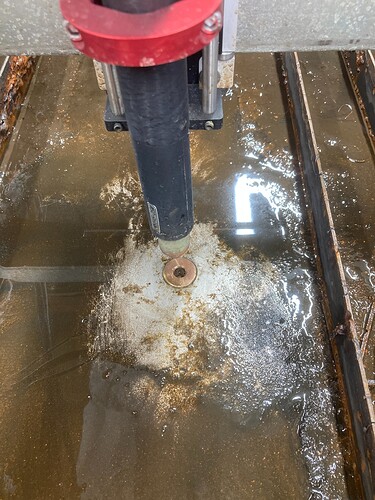
I decide to use the Langmiur to perform surgery on itself.
After removing the “slats” I lowered the torch head to and only used the bottom clamp to secure it.
I figure 2 quick cuts and it should be fine.
So I mark the original height first with a marker, and lower the torch and only use the lower bracket to hold it for these 2 cuts.
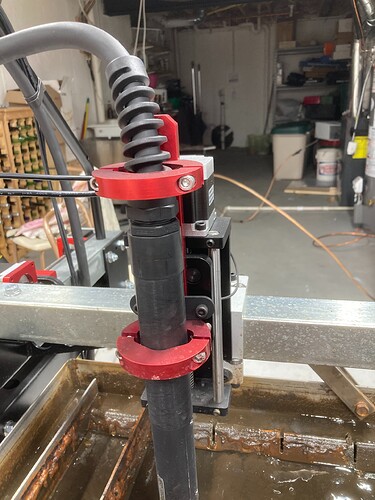
IMG_33071920×2560 356 KB
The tables is “nastier” than I expected,
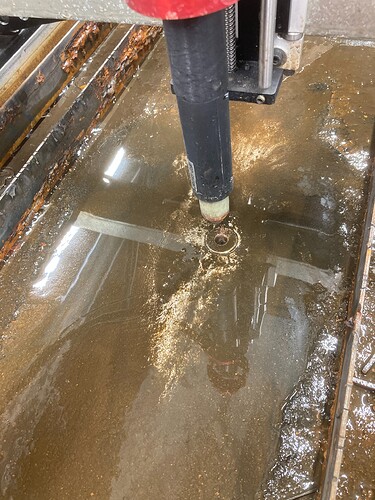
IMG_33081920×2560 589 KB
Then I decide that I should clean the area off to maximize my chance for a “successful first cut in SS”. I am also not sure how that water will effect the cut quality, so I spend some time with about a “Sherwood Forrest” worth of paper towel and a scraper, to try and “sop up” some of the slop.
IMG_33101920×2560 599 KB
Its kind of a "known problem" cause they ship the tables in 2 pieces (to save money most likely)
It wasn’t too bad, but I figure that it ain’t gonna get better, so I figure I may as well try to TIG her up.
So first I have to drain the table…but the factory plugs are frozen in place and I end up ripping the gaskets during removal.
Well F’it I guess, I will just have to convert my table to a new drain system, just I like I planned to do 4 months ago…But ya’ll know how it is, projects start to stack up as priorities change…blah…blah…blah…
I decide to copy a guys idea from the Lanmuir site (giving credt to @nortonscustoms for the idea) but I am kinda short of the proper material, so I start scrounging through the scrap pile and I find a few possible candidates.
I first find this square piece of “mystery metal” and some A36 round stock that might work.
I am worried that the pressure from the squeezing action will bend/warp the square piece, but that is the biggest/thickest piece of scrap steel I have laying around, so I find this “roached out” circular scrap of aluminum as a candidate for a “backer”.

IMG_32991920×2560 381 KB
Off to the lathe we go.
I decide to cut off the corners on the band saw to get a “round’ish” shape and will try to make it round on the lathe after I get it to what I consider the proper depth.

IMG_33031920×2560 531 KB
Now keep in mind, I am doing this off a “bar napkin” drawing and I have no idea if it will work.
Then I start “whittling away” at the A36 with my new “carbide inserts” that I am trying out.
They work pretty good so far.
(However one complaint is that I can't get the inserts to make actual "chips". Instead I get long strings that eventually get wrapped around the chuck and scare the sh!t out of me when they catch........But thats a different topic entirely....)

IMG_33011920×2560 414 KB
Now it’s time to chuck up the “backer piece” to clean it up and carve out a “recess” to make enough room for the die.

IMG_33041920×2560 382 KB
In the end, I end up with the “finished product”

IMG_33341920×2560 226 KB

IMG_33351920×2560 281 KB
Now to cut the holes in the table.
I can’t find my “hole saw” set, so I think they must be up at the cabin. Hmmmmm…
I decide to use the Langmiur to perform surgery on itself.
After removing the “slats” I lowered the torch head to and only used the bottom clamp to secure it.
I figure 2 quick cuts and it should be fine.
So I mark the original height first with a marker, and lower the torch and only use the lower bracket to hold it for these 2 cuts.

IMG_33071920×2560 356 KB
The tables is “nastier” than I expected,

IMG_33081920×2560 589 KB
Then I decide that I should clean the area off to maximize my chance for a “successful first cut in SS”. I am also not sure how that water will effect the cut quality, so I spend some time with about a “Sherwood Forrest” worth of paper towel and a scraper, to try and “sop up” some of the slop.

IMG_33101920×2560 599 KB


