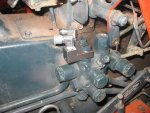
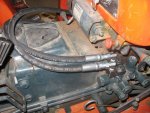
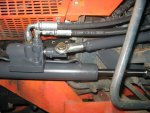
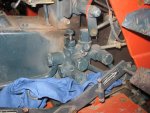
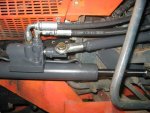
Now it’s time to install the hydraulics to get this bad boy all fired up! You will notice that there are 2 hydraulic transfer blocks to hook up your hoses to. First remove the block on top of the aux hydraulic transfer thing-a-ma-jig on the RH side of the tractor.
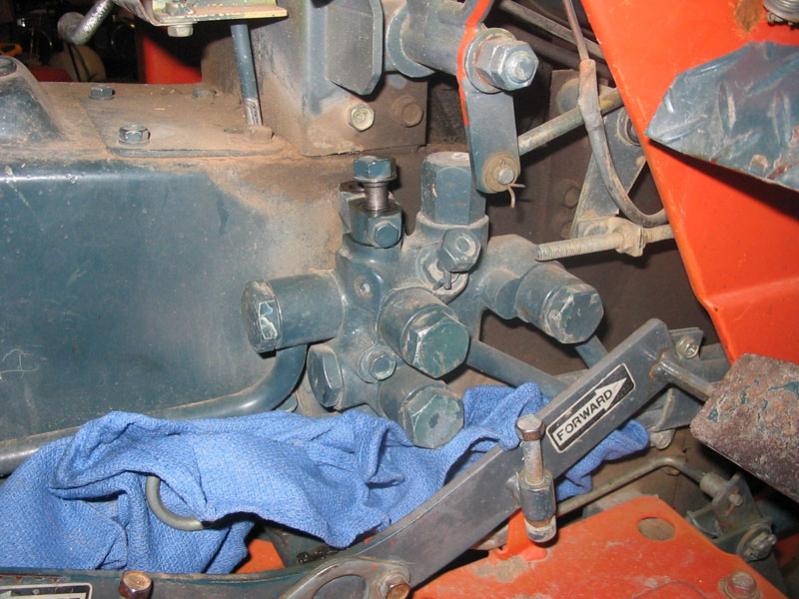
Then install the provided blocks.
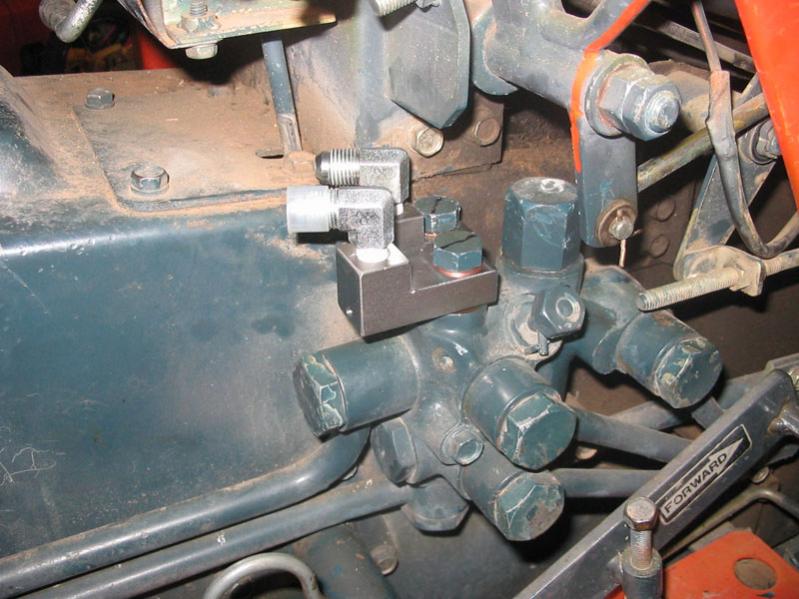
I went to install these and hit another wall. The smaller of the 2 blocks would not allow me to get a socket onto the block, as the machined riser was a little too close. A simple change to the machining would have solved that problem as they only needed about 1/32” to make it happen. I’ll place the blame on the engineer for overlooking that. Break out the dremel again. This time I modified a cheap socket, and turned about ¼ of it into a really thin walled socket! Works well thank you very much. Well the next SNAFU happens when I notice that there is hole in the back of each one of these little blocks, and I think to myself “I’ll bet fluid squirts out of those things when I turn the tractor over.” I was correct! I searched around the package to see if I was missing some plugs, but I couldn’t find any, so I fired off a phone call to Rick over at TPS, he said, sorry, we usually put a plug in there and weld it up to seal it off. He promptly got another set to me via UPS. So after about a week I began round two at installation. Things seem to be going better. I finally get everything hooked up and fire up the tractor.
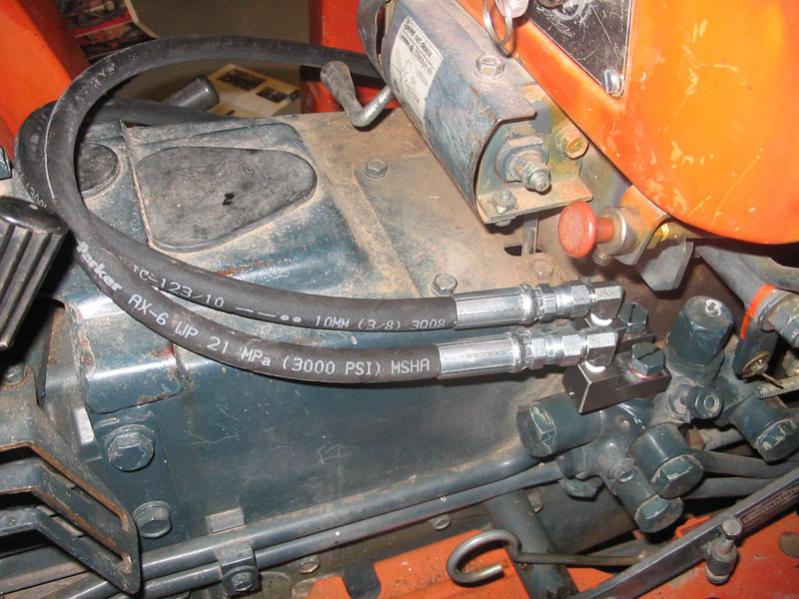
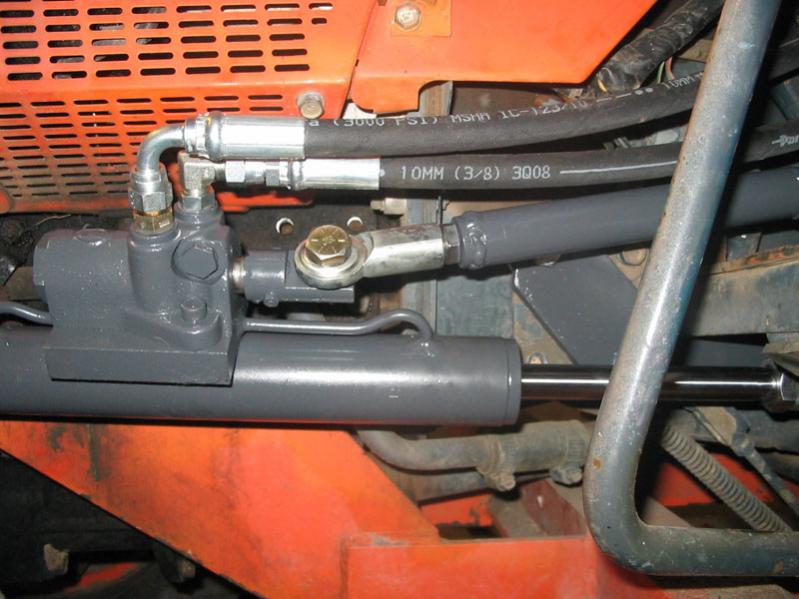
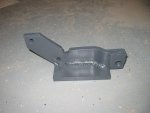
I keep the RPM’s low and cycle through the steering per the instructions. I check everything on the RAM side and find that the mounting bracket is bending where I ground out the area for the foot rest…more angry words. I then check the hydraulic block side of things and see quite a bit of fluid leaking out…even more angry words. After close inspection I see that a goodly amount of fluid is leaking through the welded plugs! By this time I’m pretty peaved and had to take a break before I blew a gasket.
Had to bug the neighbor for some scrap steel and the use of a welder to reinforce the mounting bracket. Got that project taken care of in short order.
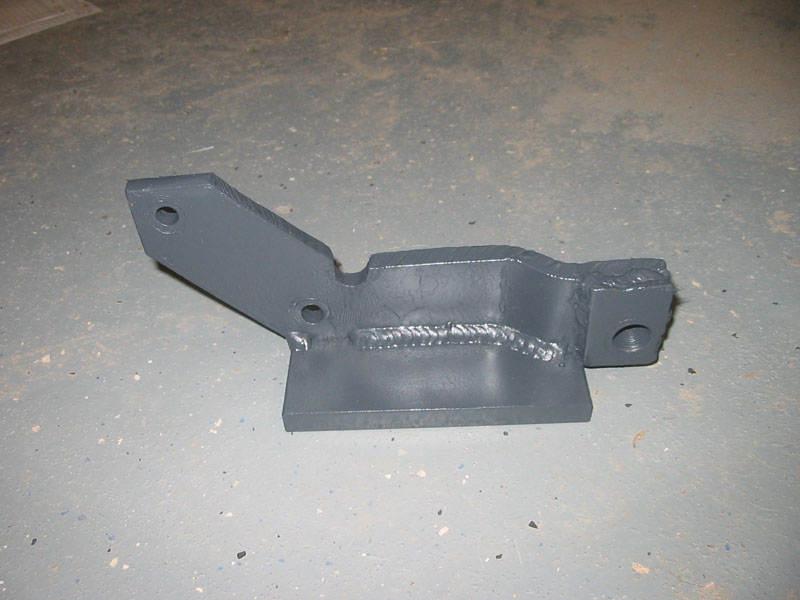
Now what to do with these stinking blocks. Fortunatelly I had not returned the original blocks, so instead of waiting another week for parts to arrive, I took them to a local machine shop to get them plugged up. That extra expenditure was truly unacceptable in my opinion. I personally know it is more challenging to make an oil tight seal, but if you are selling parts for commercial gain, you should be a little more skilled at using a MIG gun. Or just use a TIG gun for heck sake.
Finally got everything put back together and I must say, this system works like a dream! Very smooth and refined steering. I still worry a little about the mounting bracket, but time will tell if it gives me problems. The ram seems to be a little over sized for this tractor, and I’m sure a less powerful one would have worked just fine, but so far I am happy with the results. Unfortunately this isn’t just a bolt on kit as billed, but if you have a little know how, I think it is a worthwhile project for your little Orange Tractor.
Then install the provided blocks.
I went to install these and hit another wall. The smaller of the 2 blocks would not allow me to get a socket onto the block, as the machined riser was a little too close. A simple change to the machining would have solved that problem as they only needed about 1/32” to make it happen. I’ll place the blame on the engineer for overlooking that. Break out the dremel again. This time I modified a cheap socket, and turned about ¼ of it into a really thin walled socket! Works well thank you very much. Well the next SNAFU happens when I notice that there is hole in the back of each one of these little blocks, and I think to myself “I’ll bet fluid squirts out of those things when I turn the tractor over.” I was correct! I searched around the package to see if I was missing some plugs, but I couldn’t find any, so I fired off a phone call to Rick over at TPS, he said, sorry, we usually put a plug in there and weld it up to seal it off. He promptly got another set to me via UPS. So after about a week I began round two at installation. Things seem to be going better. I finally get everything hooked up and fire up the tractor.
I keep the RPM’s low and cycle through the steering per the instructions. I check everything on the RAM side and find that the mounting bracket is bending where I ground out the area for the foot rest…more angry words. I then check the hydraulic block side of things and see quite a bit of fluid leaking out…even more angry words. After close inspection I see that a goodly amount of fluid is leaking through the welded plugs! By this time I’m pretty peaved and had to take a break before I blew a gasket.
Had to bug the neighbor for some scrap steel and the use of a welder to reinforce the mounting bracket. Got that project taken care of in short order.
Now what to do with these stinking blocks. Fortunatelly I had not returned the original blocks, so instead of waiting another week for parts to arrive, I took them to a local machine shop to get them plugged up. That extra expenditure was truly unacceptable in my opinion. I personally know it is more challenging to make an oil tight seal, but if you are selling parts for commercial gain, you should be a little more skilled at using a MIG gun. Or just use a TIG gun for heck sake.
Finally got everything put back together and I must say, this system works like a dream! Very smooth and refined steering. I still worry a little about the mounting bracket, but time will tell if it gives me problems. The ram seems to be a little over sized for this tractor, and I’m sure a less powerful one would have worked just fine, but so far I am happy with the results. Unfortunately this isn’t just a bolt on kit as billed, but if you have a little know how, I think it is a worthwhile project for your little Orange Tractor.
Attachments
-
74 KB Views: 9,640
-
78.9 KB Views: 9,811
-
68 KB Views: 13,844
-
89.7 KB Views: 6,643
-
78.9 KB Views: 27,494


