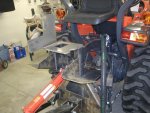
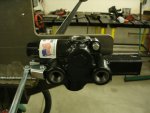
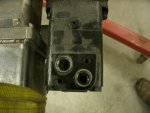
Some more hydraulic questions. Seems the more I research the more confused I get! Need to start planning the hydraulic circuit for the controls on the grinder and looking for the best way. Should I tee off the power beyond line at the loader valve or should I tee off the block on the right side? Looking at my owners manual, they show and explain the block ports on the right side. #2 looks to be pressure from the pump, #1 is described as 'from implement (Outlet), and #3 is 'from implement (Tank port). Can somebody explain the #1 and #3 ports please?
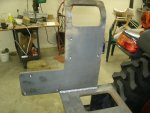
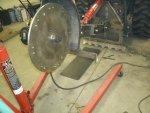
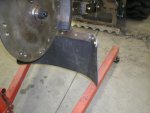
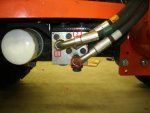
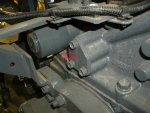
I also noticed this plate on the right side of the transmission. Is this possibly for tapping into hydraulics for rear remotes?
I also noticed this plate on the right side of the transmission. Is this possibly for tapping into hydraulics for rear remotes?
Attachments
-
 66.5 KB Views: 400
 -
 91 KB Views: 428
 -
 93.6 KB Views: 314